

Arms Race was a 6 month project that I undertook with a group of four other guys (two programmers: Nathan Williams and Jason Koch, one other artist: Corrigan Fairbairn, and a designer: Toby Martins). We took the project all the way from the concept stage up to the point you see in the video above.
I worked extensively on most aspects of the art for the project, and was involved in design decisions regarding not only art style but gameplay as well.
I was able to solidify a style for the models and textures in the game fairly early on in production which really helped the progress of the project because it meant that early on in the project we could start polishing assets that were already in the game. This also meant that most of the main assets were completed to a good standard early, so I could move on and start working on animations and effects like particles and shaders.
Here is some info about some of the assets I created for Arms Race, as well as some screenshots from Unity:


Above is one of the forts I created for the project; fully modelled in Maya and Textured in Photoshop. We decided to go for a style which involved rounded edges on most models, which obviously requires more topology, but it wasn't very expensive. This whole fort uses a tileable stone texture (except the trims) and the coloured bricks are achieved through use of vertex colour multiplying over the tileable.
We wanted the fun, party vibe of our game to be present in everything that is in the game, so we decided that our forts needed to bounce and wobble and breathe. I came up with the idea for an animation system which meant we could more easily achieve the nice 'Jelly-like' animations we were after.
I found that the best way to achieve these animations in Maya was to use deformers, more specifically, a lattice deformer. With enough points on the lattice and soft-select activated, you could scale specific groups of lattice points to achieve the desired motion. The PROBLEM with this is that per-vertex animation does NOT translate into engine.
After thinking hard about this (because I really didn't want to have to try to rig up each fort using bones) I came up with the idea to use BLENDSHAPES to store the vertex animation data from the Maya deformers. This ended up being nicely compatible with Unity, and so Corrigan set to work creating the blendshapes and animating the forts.
The flags on the forts use a custom vertex-offset shader that I created in shader forge, which pans a single height-map across the surface of the flag at two different orientations (0 and 45 degrees) and two different speeds. This same height map is then multiplied over the diffuse at a lower value to give the illusion of the highlights and shadows on the flag changing dynamically with the vertex offset.
Below is the other fort I created for the project.

Below are the two cannons that I created for Arms Race. Again both modelled and textured in Maya and Photoshop. They both use diffuse only textures.
To match our theme we needed our cannons' animations to be nice and stretchy/squashy, which was again very easy to achieve in Maya using deformers, but the deformer/blendshape setup was less practical for the animations of these assets. They were also a lot simpler to set up and rig with bones. I did discover that you can actually use scaling on bones in animations for Unity, but I had to make sure to turn off the "scale compensation" in Maya on the bones in the chain which would be scaled. Once I had figured this out it was nice and easy to get nice stretchy cannon firing animations. Of course I needed to ensure there were sufficient edge rings going down the length of the barrel to achieve proper deformation.
Forts
Cannons

Character
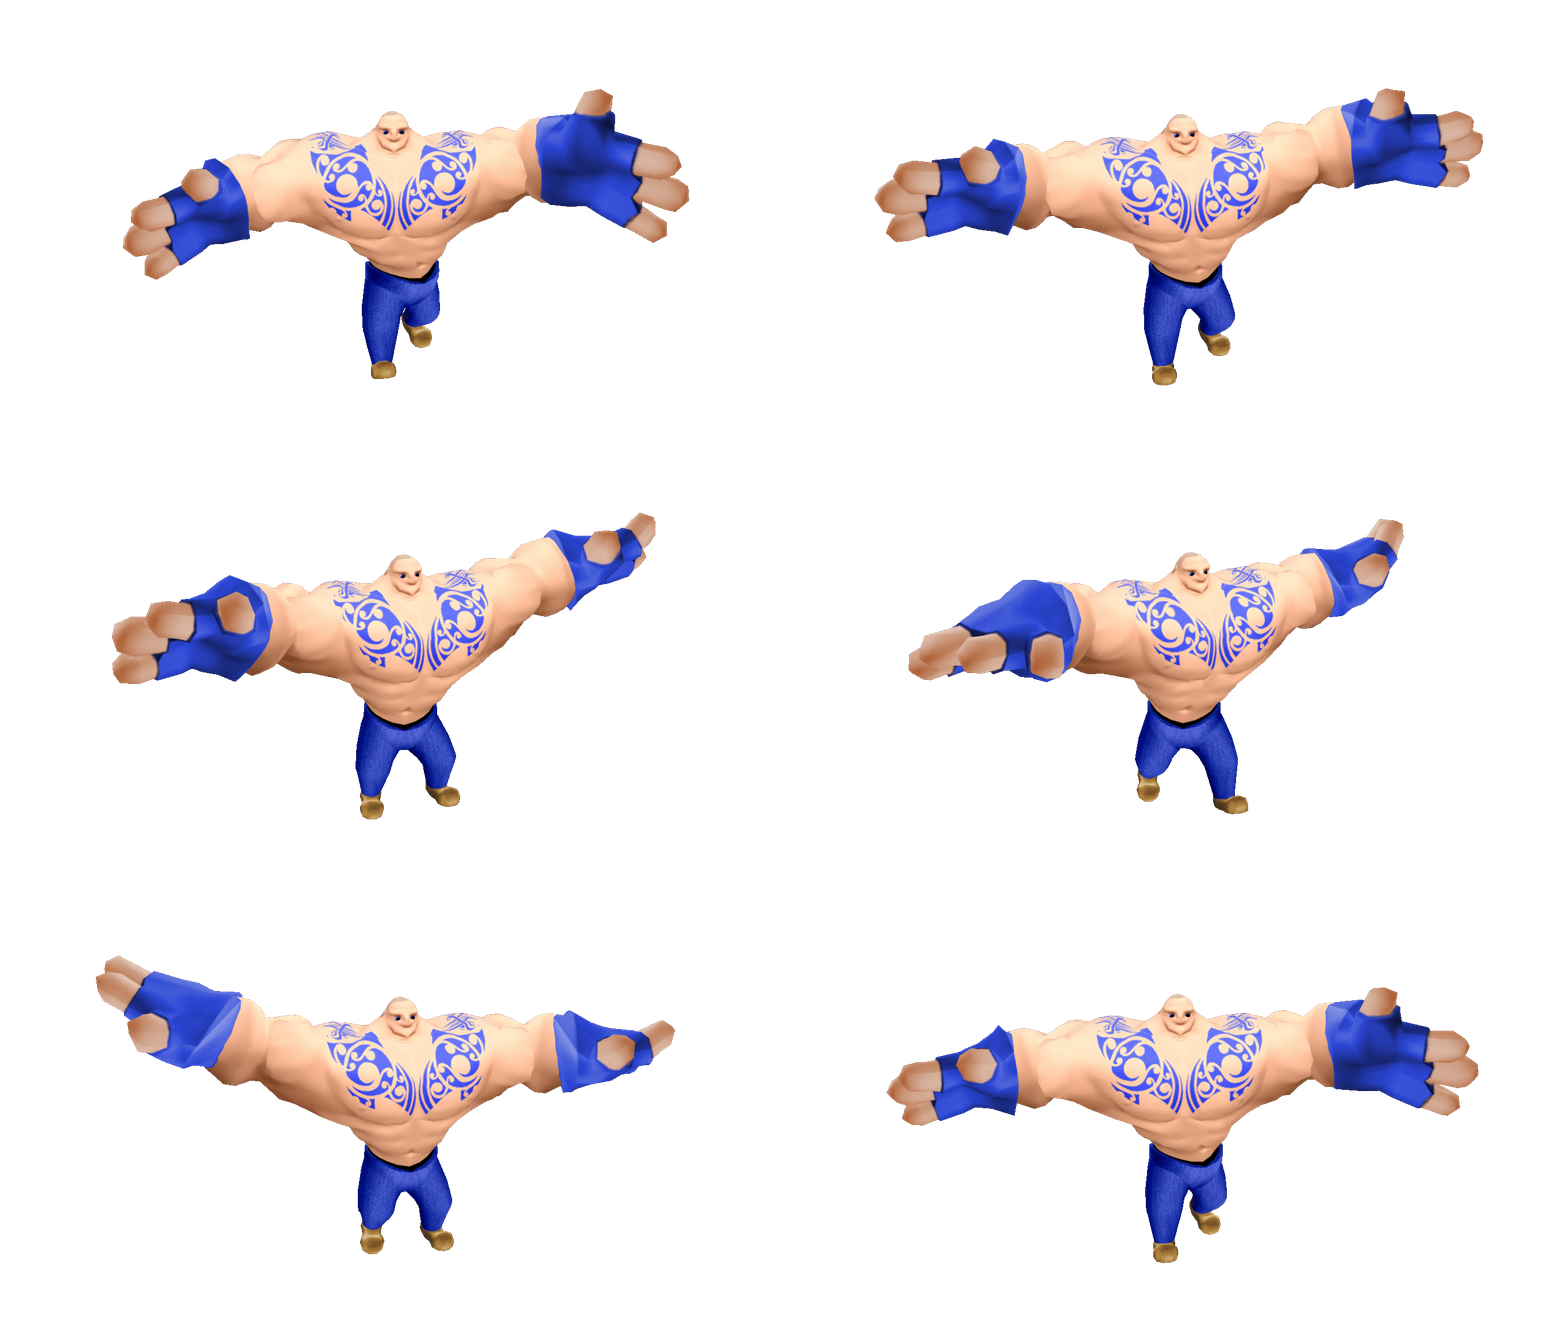
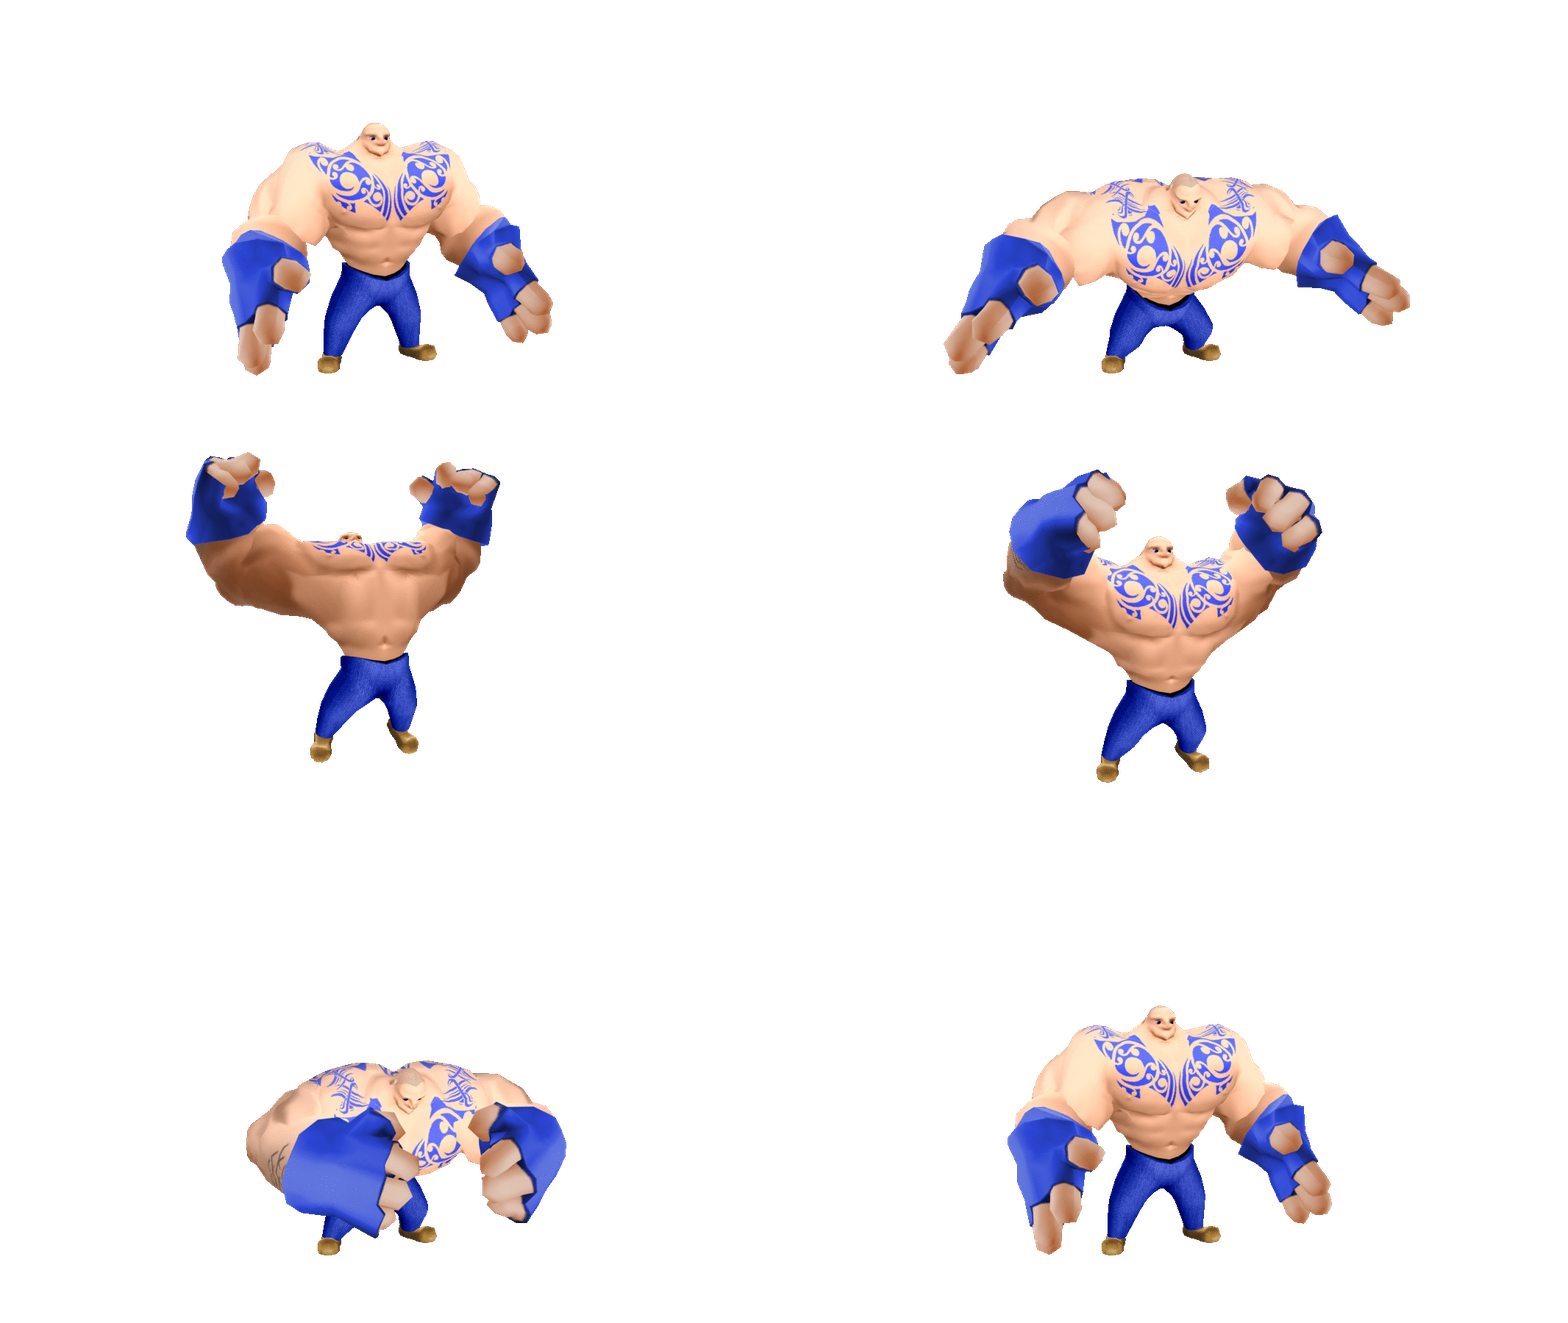
The nature of Arms Race’s gameplay and the timeframe which we have to create the game meant that we decided to go with having a single character that is the same for all four players. For distinction between players we decided that our character would be wearing huge gloves and some other simple clothing. This was so that the whole colour of each player’s character’s clothes could be changed in engine within the material. We thought about overalls, hats, and all sorts of things to go along with the gloves, but in the end we decided to go with gloves, basic pants, and tattoos covering most of his upper body. The shoes are the same for all players.
The design of our character – let’s name him Jonathon – ended up the way it is because we decided we wanted him to be large enough on the screen that you don’t get lost; we wanted him to be comical in a cartoony way; we wanted him to look funny when he was running; and we wanted him to look like someone who could move big crates if he wanted to. From there we came up with the idea of “huge arms – tiny everything else”.
Once we had those parameters decided upon, I set to work roughing out some proportions in Photoshop. Once I had something that I thought was ridiculous enough I went into ZBrush and started sculpting him out.
I started my ZBrush sculpt by aligning his proportions with ZSpheres, and once I had them roughly right, converted them to a mesh with the second sub-division level. I exported this mesh as an obj and sent it over to Corrigan so he could start getting things going for the eventual skeleton and rig. I proceeded to sculpt out Jonathon’s musculature from the ZSphere mesh. Once I had his hands done I masked them out except for the fingertips and extracted them out to a nice chunky thickness to make gloves – I did the same thing for the pants.

Once I had conferred with the others about how he looked and gotten the go-ahead, I exported Jonathon out of ZBrush and into Maya to start re-topologising. I used some of the original ZSphere mesh to start the re-topo around the hips and torso and went from there. Once finished I sent that version over to Corrigan for him to continue with his skeleton and rig. Then I UV unwrapped and baked the muscle detail down from the
high-poly ZBrush sculpt to the low-poly retopo. I used the channels from the bent normal map that was generated in xNormal to layer some shadows over a skin tone in Photoshop.

We wanted to use emissive textures on our character in the engine to make him stand out from the environment, so once I had the base texture from the bake, I set up some generic lighting in Maya, and used ‘Transfer Maps’ to bake that lighting information from one copy of the model with a lit shader on it, to another copy that had an emissive shader on it.
Once I had the lighting in the texture, I took Jonathon into Mari to project the tattoo designs onto his upper body. I projected the design into a separate layer and then exported the maps, and put them together in Photoshop, where I made sure they were desaturated and were roughly 75% grey (yet still underneath the lighting layers). They needed to be grey so the colour tint in engine worked properly.
All while this was happening Corrigan had completed the skeleton and rig, and then I painted in his skin weights and we set to animating.
The animations needed to be extremely exaggerated so that the player innately would feel like they were having fun while controlling him. The run animation ended up with his arms flailing around, and Jonathon achieved Hulk-like status with his smash/ground-pound move, where he leaps into the air and then slams the ground with his mighty fists.

Overall the procedure of creating Jonathon went rather well, except for a few minor hiccups along the way with certain files becoming corrupted. Even so it was satisfying once we were able to get him into the game with all his textures and animations, and have players come in and run around in our game like big-armed, flailing idiots. From playtesting one of the most consistent pieces of feedback we have received is people’s fondness of Jonathon, and that he really made the game fun and set the vibe for the whole experience which was really cool to hear.

NOTE: It is important to keep in mind that IN GAME our character is only viewed from a top-down ~50 degree angle and I modelled and textured him with this in mind.