Introduction
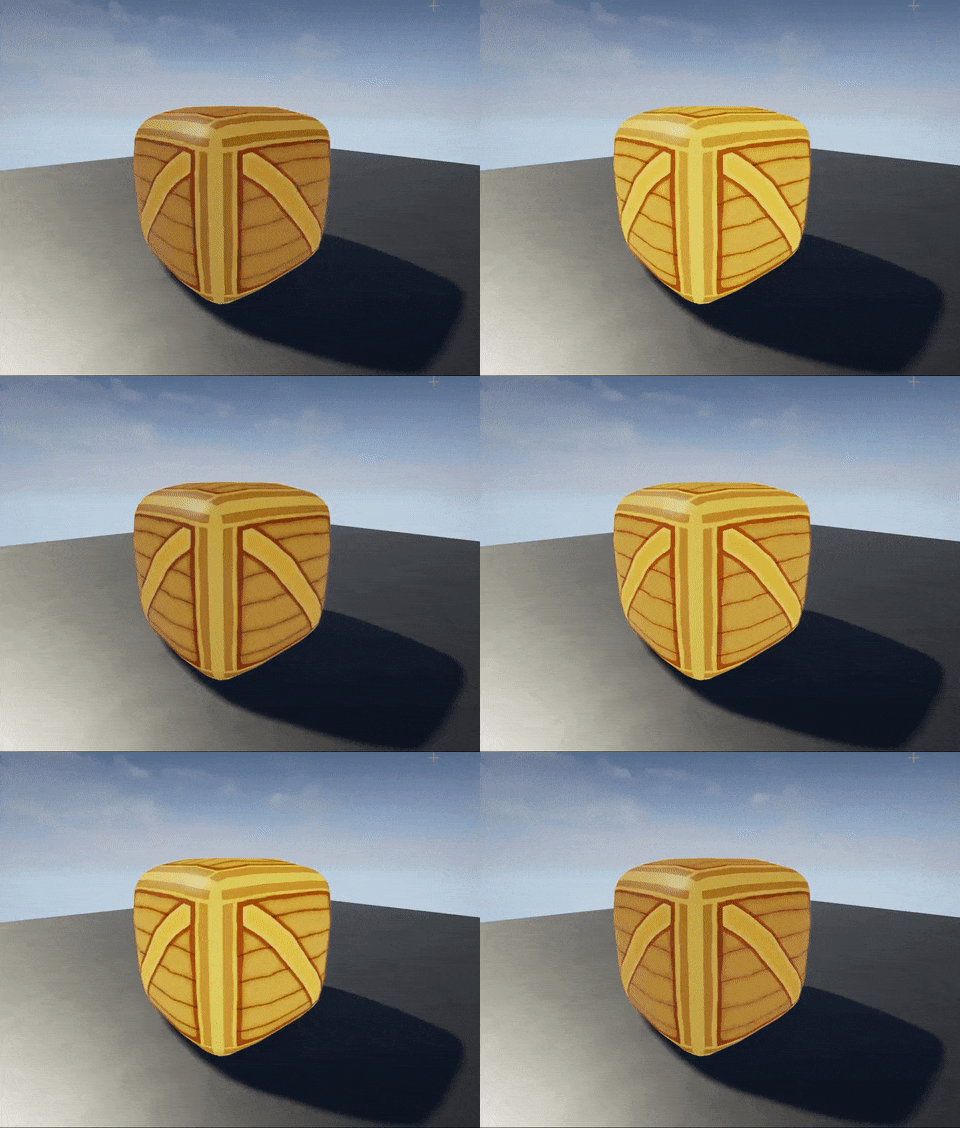
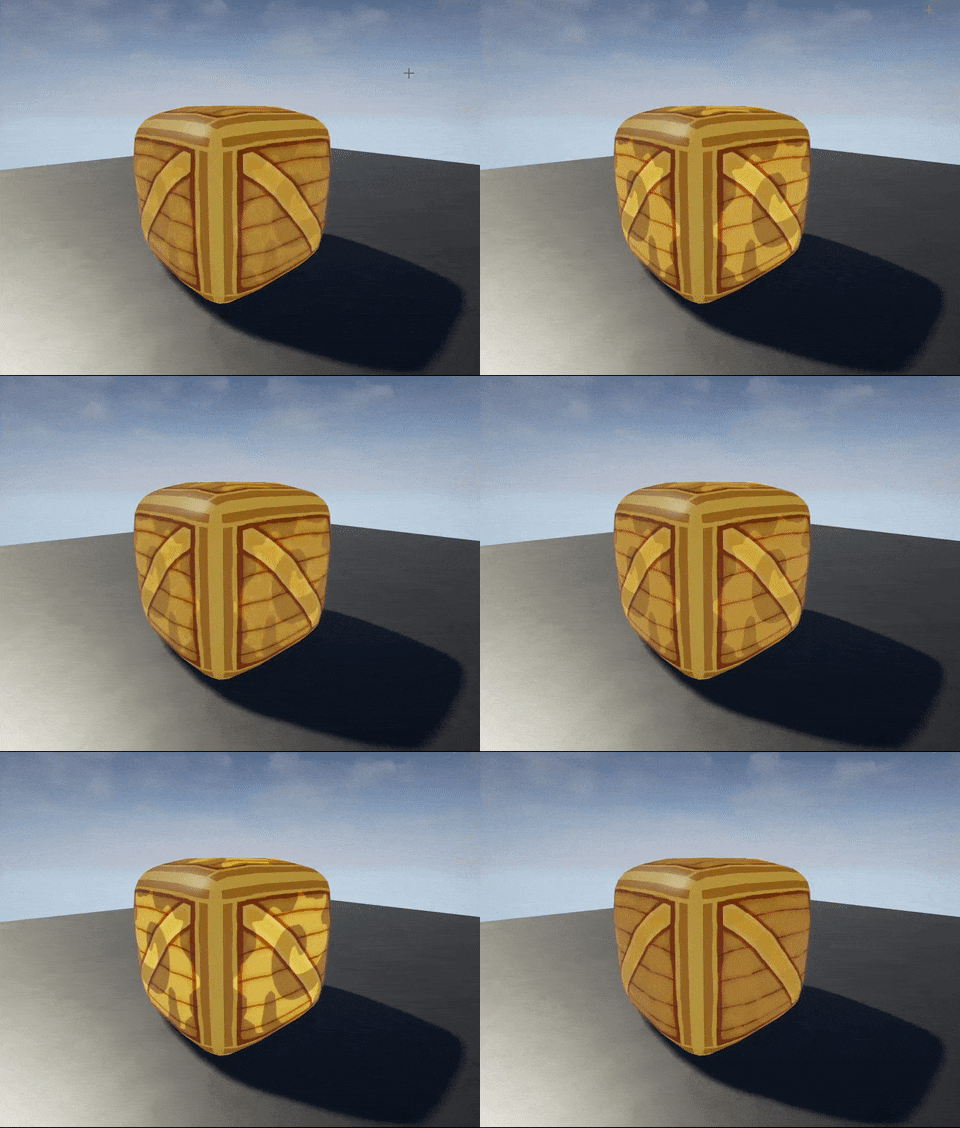
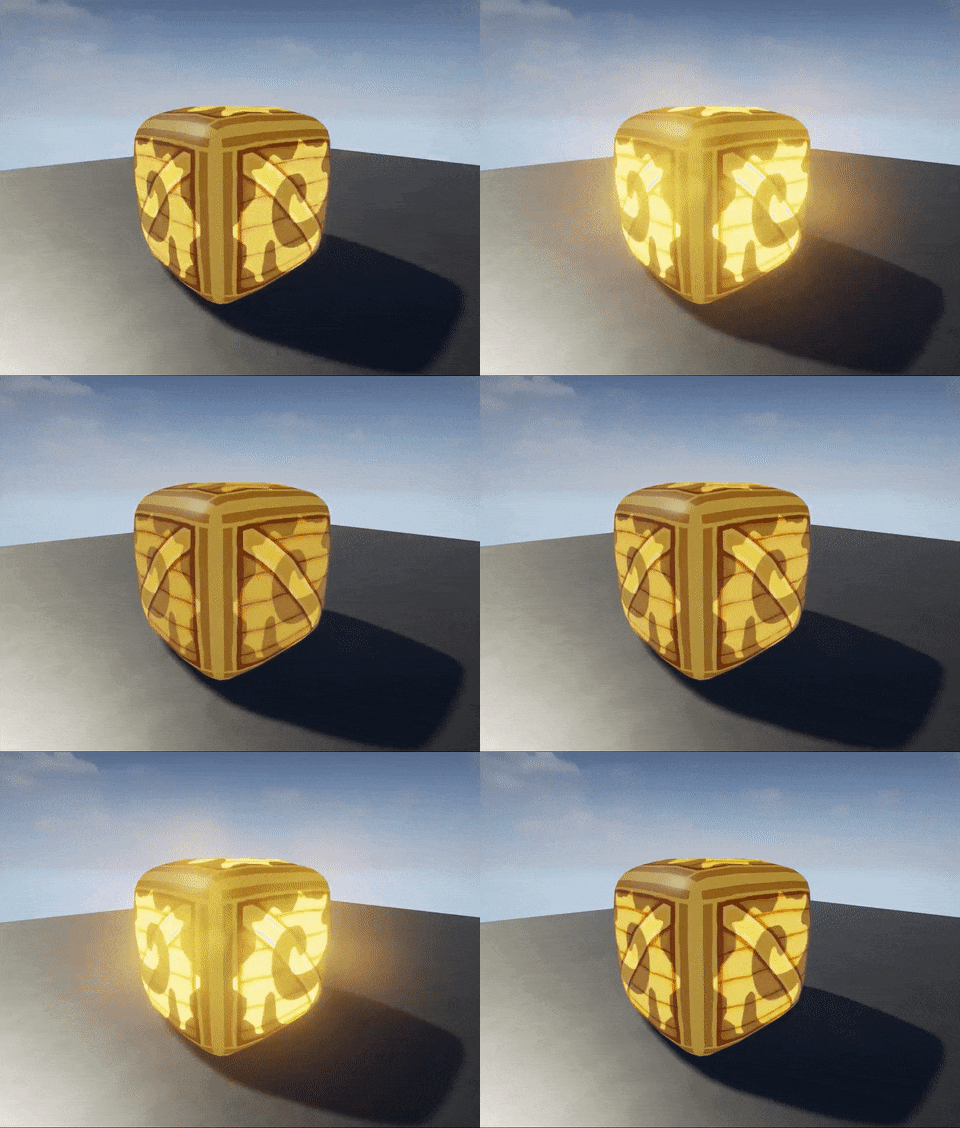
In this tutorial I will be demonstrating and explaining how you can apply some basic maths (don’t freak out!) within shader networks to achieve awesome effects within your shaders. This will be through the visual, node-based shader programming employed in the Unreal Engine material editor (this all translates to Shader Forge for the Unity users – some of the nodes might just have different names).
I will start be demonstrating a basic ‘pulsing’ shader, and the same techniques can be applied to vertex offset effects, and also UV panning effects – all using sine waves to varying degrees of complexity.
What is a sine wave?
A sine wave is a mathematical ‘function’ which gives an ‘output’ value on the y-axis, using the point in time as the ‘input’.
The ‘input’ is a number (it’s time – the number that just keeps on going)
The ‘function’ does a thing TO the number.
The ‘output’ is the number afterwards.
Mathematically, we write it like this: y = sin(t)
Here is how that looks in the material editor:

When the game is running, time is flowing. Time is our input, which means that our input is always changing.
This constantly changing input is flowing through the function. The sine function takes this input and follows a pattern to create the output, which visually looks like a wave:

You can see that no matter what time you are looking at it, the pattern of the output is the same; a wave of values that move from 1 to -1 and back again.
These values are what we can use within shaders to create interesting effects.
Note: As we know, colour in computer graphics is made of three values from 0 to 1 (red, green, and blue). To make white is 1, 1, 1 and black is 0, 0 ,0 (and there is alpha for transparency).


